Create and Authorize a Public House Project
For Public House to communicate with Google Drive, you’ll need to create an app in the Google Developer Console. An “project” is an authorized connection between an outside service (Public House) and Google Drive. The app defines the permissions that Public House has when communicating with Google Drive. Once you define the app, the final step is to authorize it.
Configuring Google Drive API for Homeownership Application Integration
Step 1: Go to your Google Developer Console
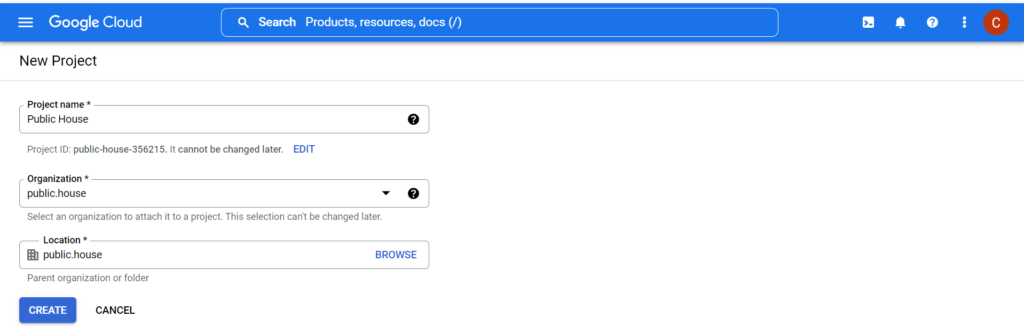
Step 2: Create a new project
If you haven’t configured any Projects yet, you will be prompted to create one. Give it the Project Name: Public House
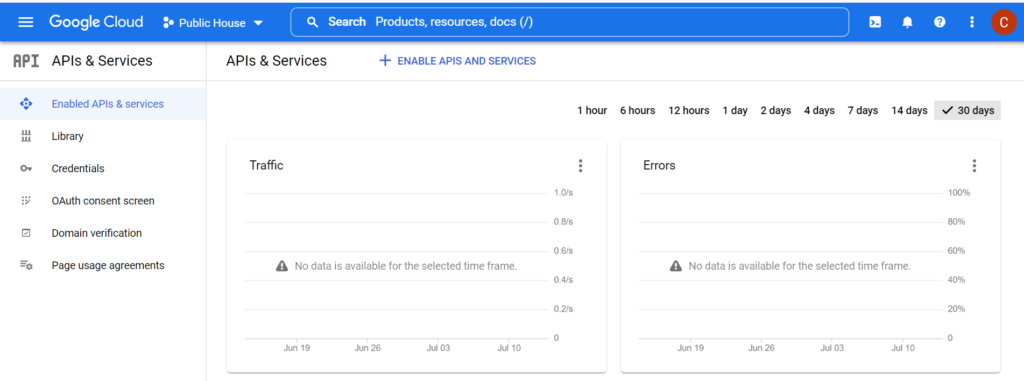
Step 3: Go to Library to Enable APIs and Services
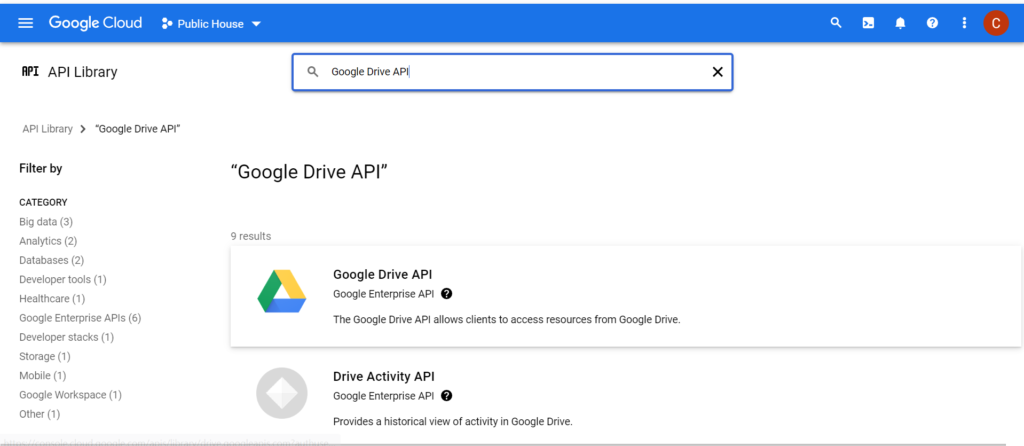
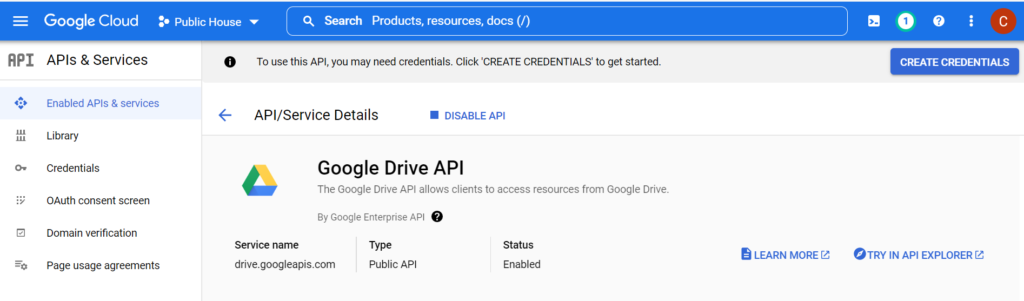
Step 4: Search for Google Drive API
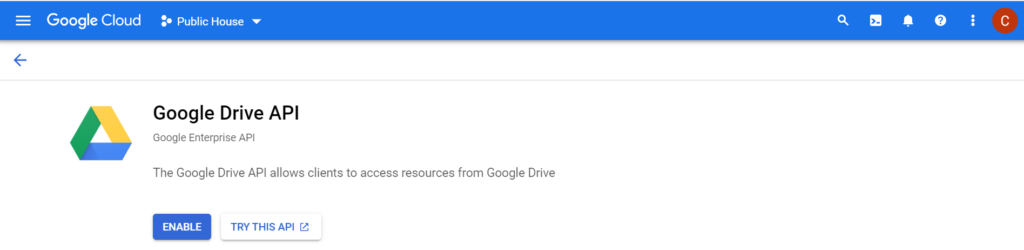
Step 5: Enable Google Drive API.
Step 6: Once the API is enabled need to create credentials, select Credentials from left side panel.
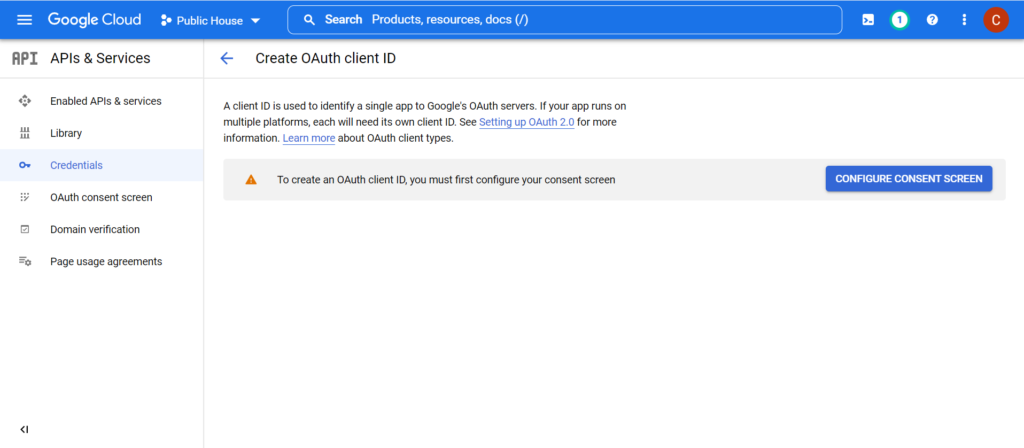
Step 7: Select Create Credentials from the top menu bar

Step 8: Select Configure Consent Screen
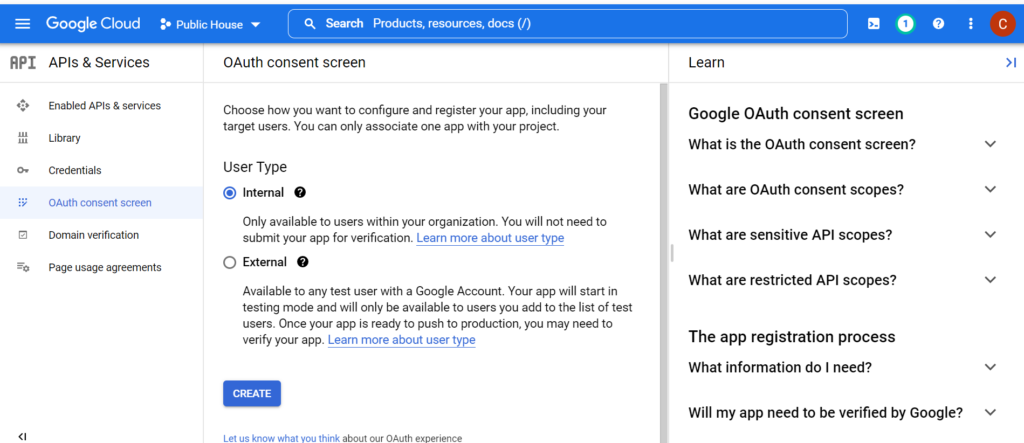
Step 9: Select Internal User Type and click the Create button
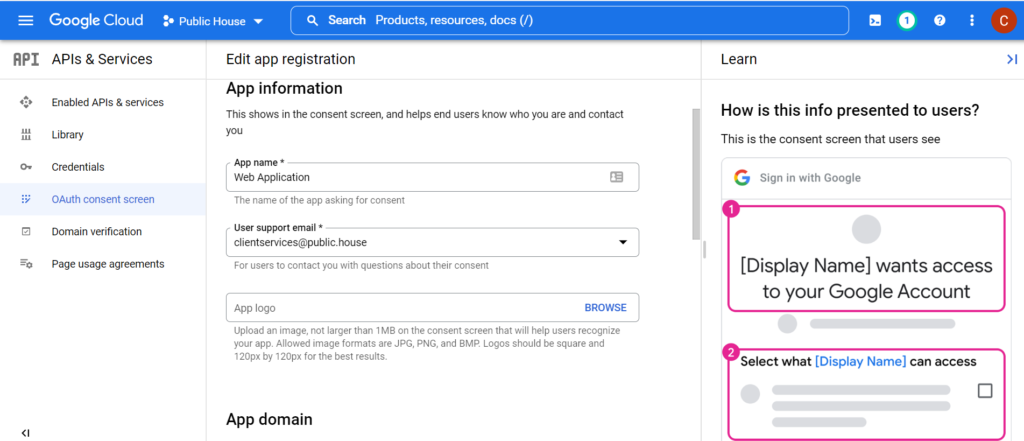
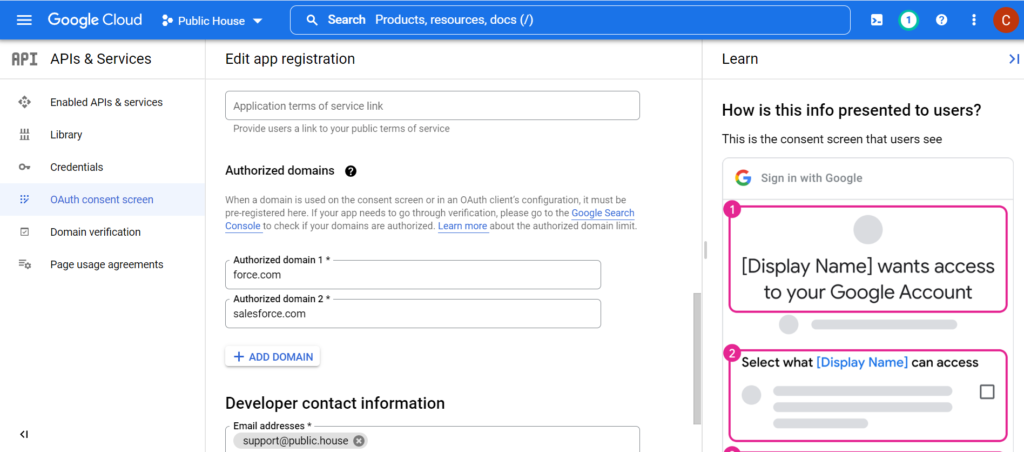
Step 10: Populate the App name and the User support email
Step 11: Click +Add Domain to add authorized domains for force.com and salesforce.com
Step 12: On the next screen click Add or Remove Scopes
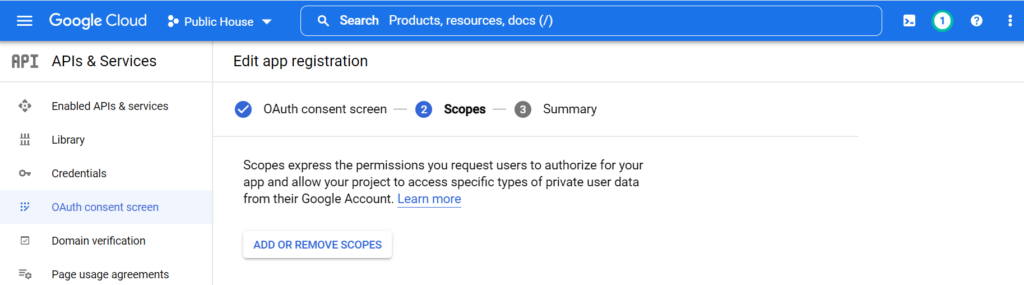
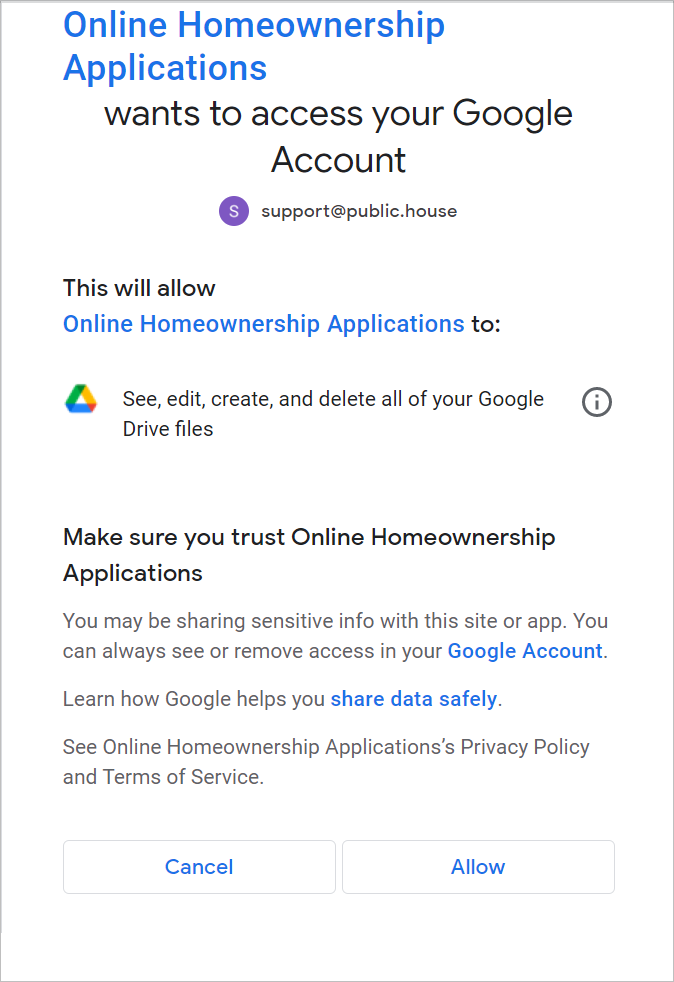
Step 13: Select the scope for See, edit, create, and delete only the specific Google Drive files you use with this app.

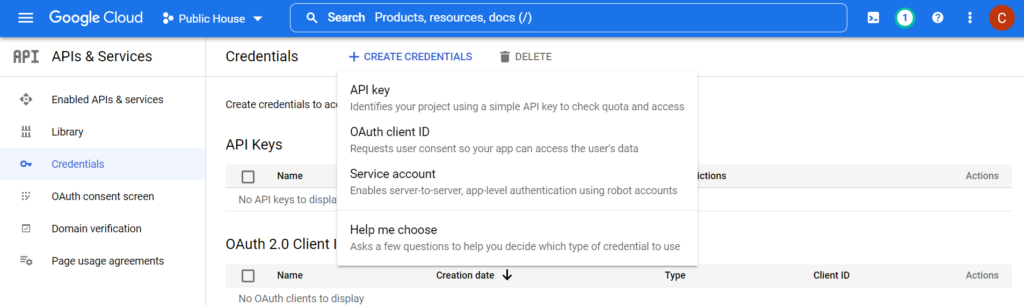
Step 14: Once Oauth Consent is complete, you’ll create the OAuth Client. Click on credentials in the left hand menu
Step 15: Select +Create Credentials on the top menu bar. then select OAuth client Id
Step 16: Set the Application type as Web application and Name to ???

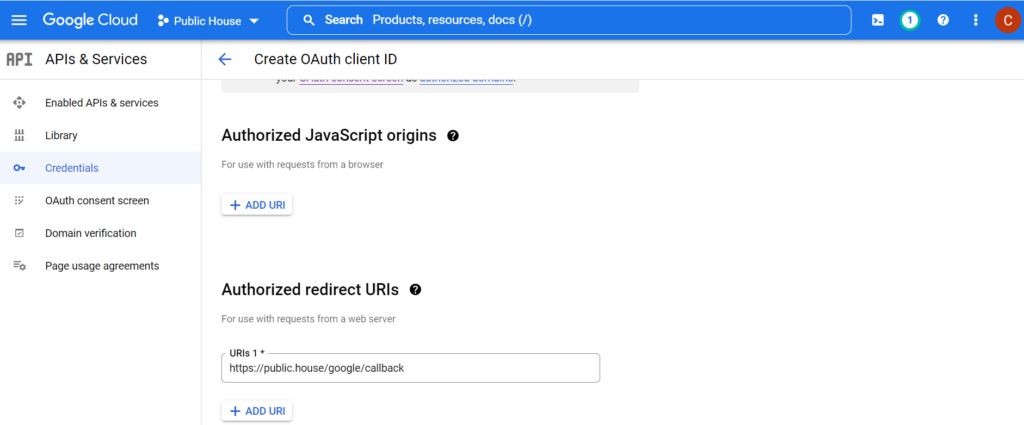
Step 17: The Redirect URI tells Drive where to send you to after you successfully authorize. Public House via Salesforce will show you a success screen once everything is connected.
Select +Add URI and enter your Authorized redirect URI – this is your Application URL + /google/callback
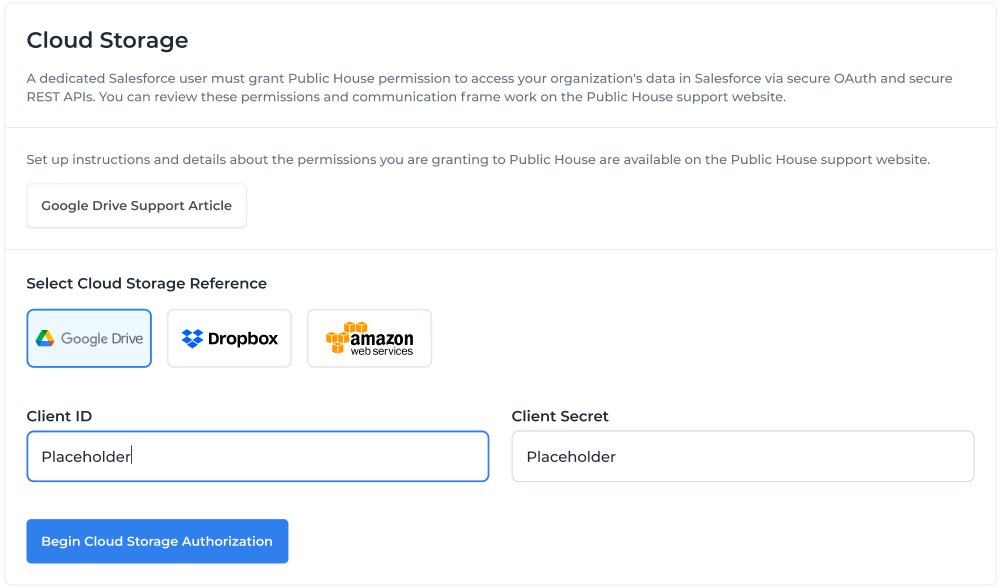
Step 18: Configure your cloud storage in Public House and Authorize
Step 19: In Salesforce, go to the Setup tab on the Public House App. Select Cloud Storage. Select Google Drive and add the Client ID and the Client Secret. Once you select the Authorize button you’ll be taken through Drop Box’s Oauth process.
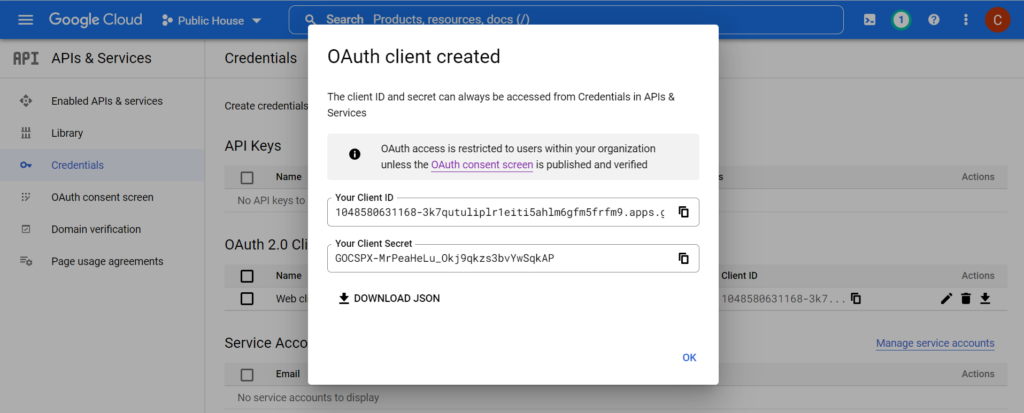
Step 20: Authenticate using keys:
Step 21: Share your Google Drive applications folder
After authorizing, notify the Public House team you’ve completed configuring and authorizing Google Drive. We’ll then create a folder for your applications. After testing we’ll send you back into Google Drive to share your new applications folder with clientservices@public.house. We do not need permanent access. Sharing will allow us to test and confirm the integration between Public House and Google Drive. Your setup page will display your connection details and the name of your Google Drive Application Folder.
Step 22: Confirm file uploads
Hey, this is a lot of steps – but you’re done! Go to a test Service File/Application upload a required document and verify it shows up in your specified Public House Google Drive application folder.
Step 23: Transferring Ownership of the Application Folder
- Share the folder with the user who you would like to transfer ownership to.
- Right-click on the folder and click “Share”. Click the down arrow next to the name of the person you’d like to transfer ownership to and select “Transfer ownership.” as shown in below screenshot.
Next, the new owner needs to go through the process detailed above to create an app and complete the authentication process.
Test the integration by uploading the file and confirm files get uploaded to the correct location.